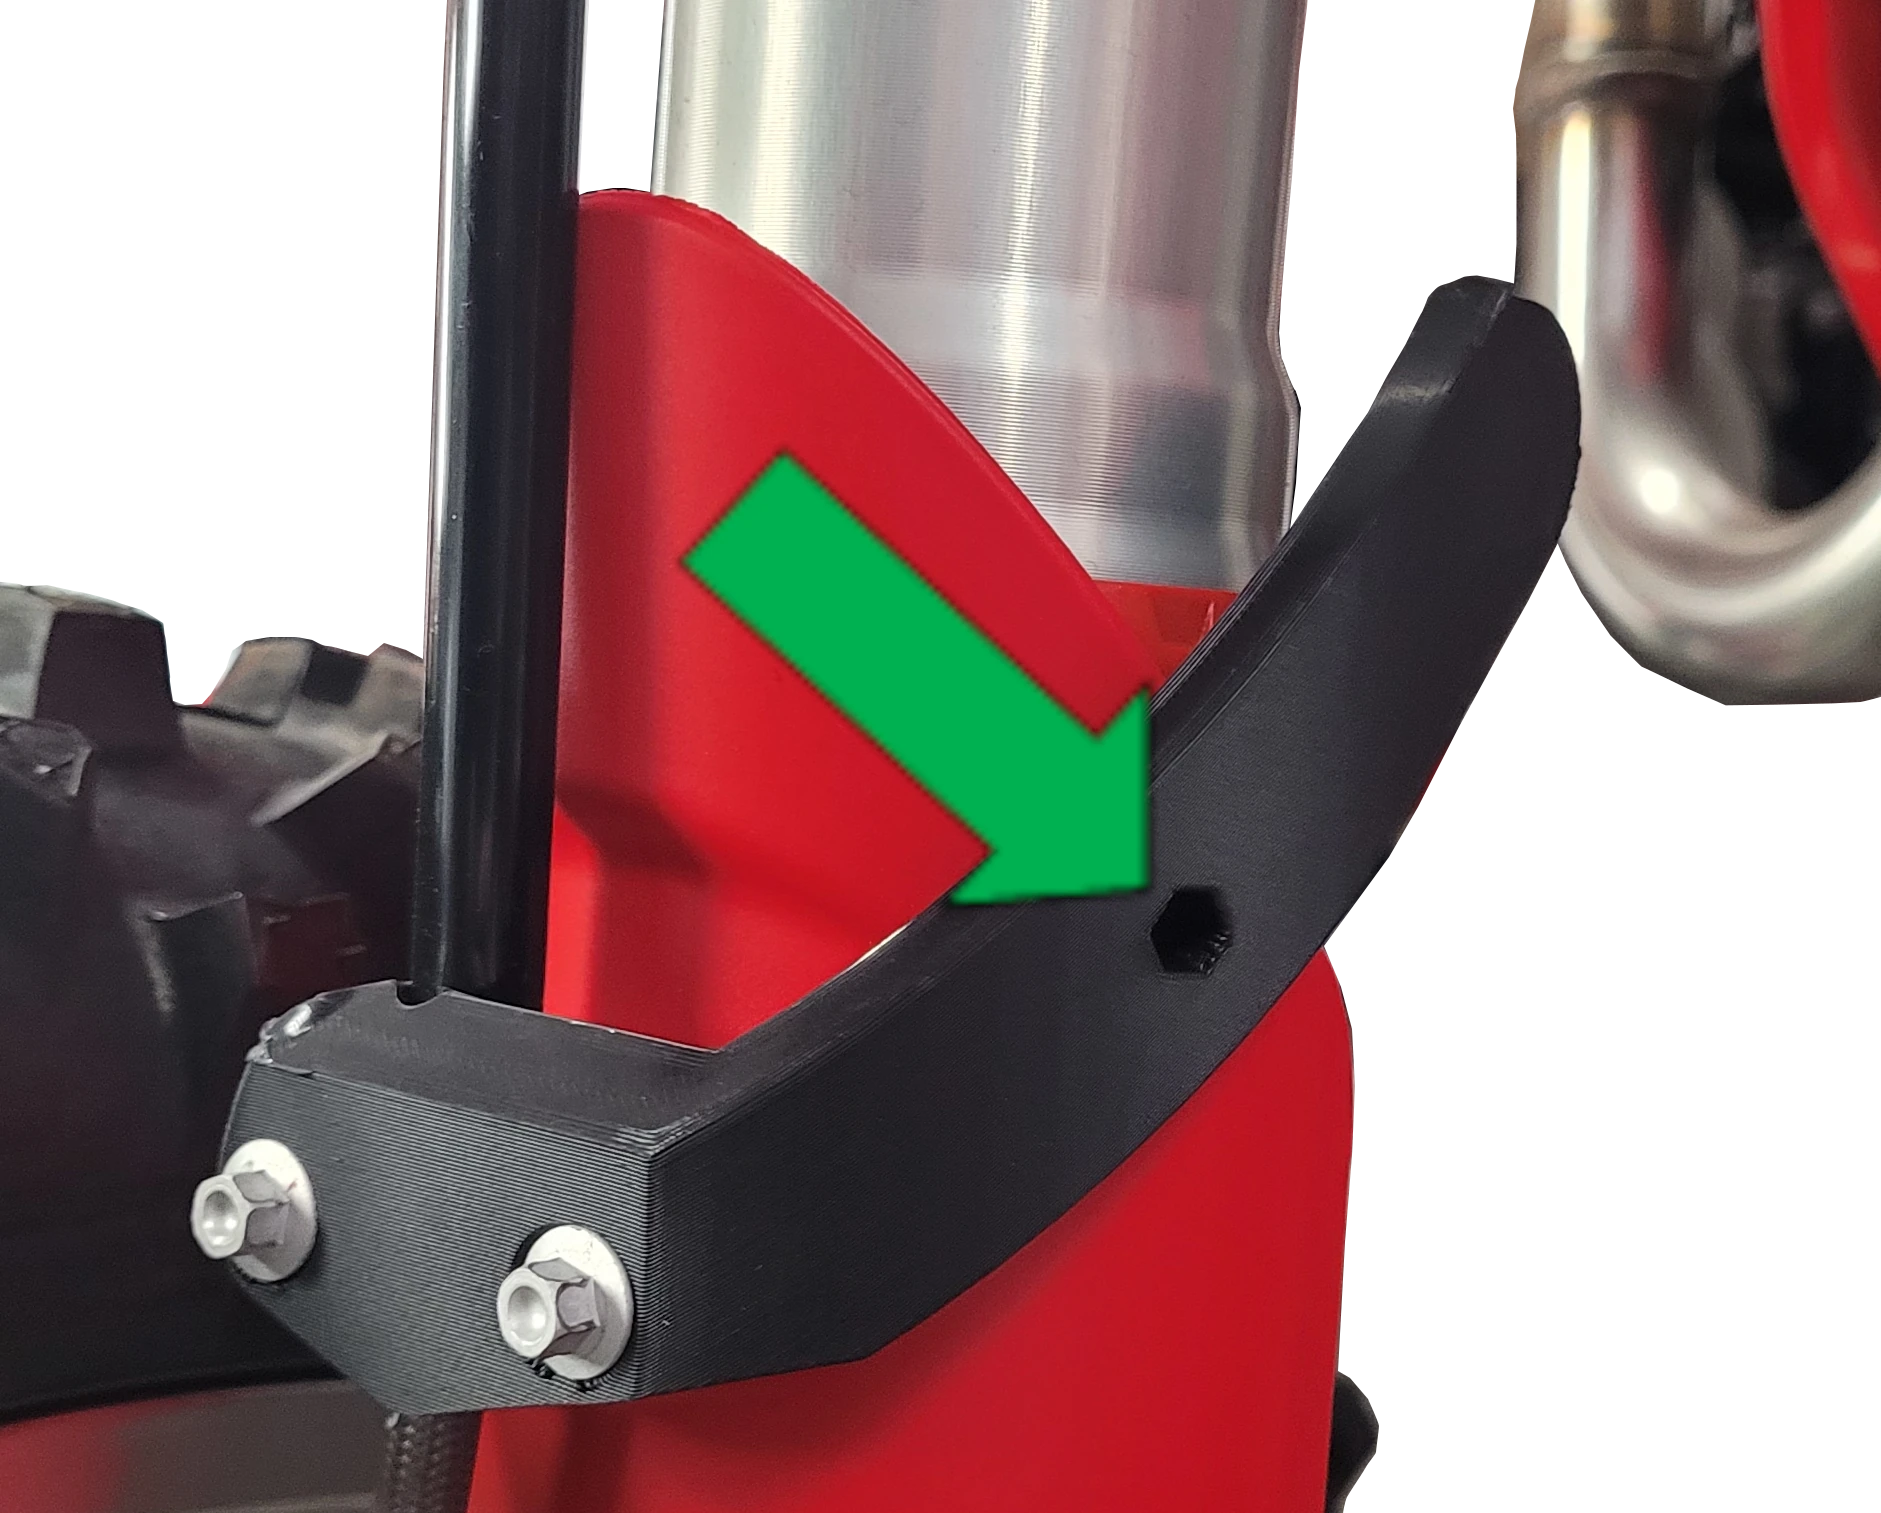
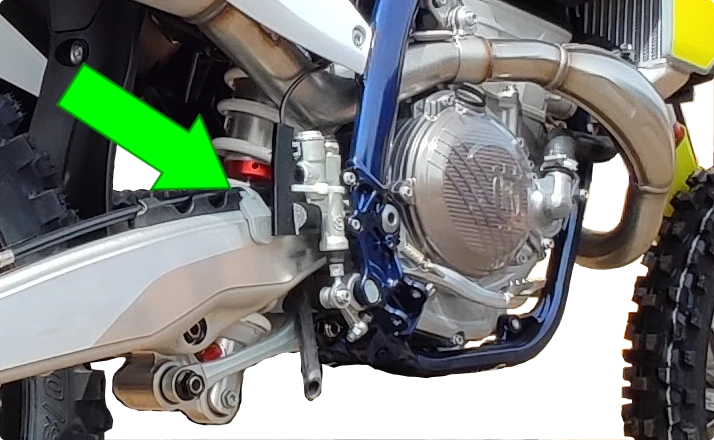
On this page, you will find video instructions in the sections below on how to install the Motoklik system, how to correctly align the front sensor wand, and how to do the manual calibration of the rear suspension sensor if you want greater accuracy in the rear suspension values.

If you prefer written instructions, please click on the links below:

Motoklik – Installation Instruction – KTM, GasGas and Husqvarna – Document

Motoklik – Installation Instruction – Kawasaki – Document

*Installation instructions are not yet available for Honda and Yamaha models, please use the Kawasaki instructions as a reference.

Motoklik - Video Installation Instructions - KTM, GasGas and Husqvarna

The front magnet holder now includes a 3mm bolt that is used to secure the arm of the magnet holder in place. To fit the 3mm bolt, attach the front magnet holder as per the video, and then drill a 3mm hole through the fork guard using the magnet holder as a guide (green arrow). When the hole is drilled through the fork guard, pass the supplied 3mm hex head bolt through and tighten into the supplied nyloc nut, using the magnet holder recess as a retainer for the nut.

Installing the Motoklik front magnet holder.

The Rear Magnet Holder for 2023 KTM and Husqvarna models is a new design. This design requires the rear magnet holder to be pushed in from the side, between the brake line, and the brake line holder. The brake line holder does not need to be removed to install the rear magnet holder. There is a cable tie slot in the new rear magnet holder that allows a cable tie to be pushed through the part, and wrapped around the brake line to secure the rear magnet holder in place.

The rear magnet holder for 2022 and previous KTM, GasGas and Husqvarna models has been updated to make it easier to fit. The rear brake line clamp no longer needs to be removed as per the video. The rear magnet holder simply fits in place on the green area highlighted in the image below, and then cable tied in position. Scroll the gallery to the right to see the rear magnet holder in position.

Motoklik - Video Installation Instructions - Kawasaki

The front magnet holder now includes a 3mm bolt that is used to secure the arm of the magnet holder in place. To fit the 3mm bolt, attach the front magnet holder as per the video, and then drill a 3mm hole through the fork guard using the magnet holder as a guide (green arrow). When the hole is drilled through the fork guard, pass the supplied 3mm hex head bolt through and tighten into the supplied nyloc nut, using the magnet holder recess as a retainer for the nut.

The image shown below is for illustration purposes only and does not represent a Kawasaki front magnet holder.

Installing the Motoklik front magnet holder.

Motoklik - Rear Suspension Quick Calibration Procedure

N.B. After completing the calibration, the bike will appear under “Custom” on the drop down list in the app. When Custom is selected for Make, the name given to the calibration during the procedure will be shown in the “Model” drop down.